Oftentimes I have a little gripe with my ARM Mac – It lacks the resources to run a Virtual Machine with the apps I need it to run, which exclusively run on an x86 machine
This is HORRIBLE if I want to run something like Windows or a Linux distribution – Emulation is REALLY SLOW because of how memory accessing works between something like ARM and x86.
I searched the internet for an INDEFINITE amount of programs I can use with a web interface that resembles something like Proxmox VE – and then I gathered that they’re all either SHIT or don’t work.
Let’s begin
Setting up Virt-Manager on macOS
For this you’ll need Homebrew. You can just visit brew.sh and get it from there if you don’t. But if you’re a sysadmin or something of those sorts – I don’t see why you wouldn’t have it.
Next, you’ll run this:
brew install virt-managerThis actually runs on your system and will be the interface. Note that we won’t be installing any virtual machine hosts.
Now we’re going to have to check something. Make sure you’re not using an SSH agent for your host, or if you do, make a new local SSH key. There’s a catch, for some reason, that makes virt-manager ignore agents and only use SSH keys locally available.
Moving on – Setting our host up.
SSH into your Debian host and run:
sudo apt install --no-install-recommends qemu-system-common libvirt-clients libvirt-daemon-system qemu-system-modules-spice qemu-utilsAfter doing that, make sure that your user is in the libvirt group
sudo usermod -aG libvirt $USERNow let’s move onto our mac.
Back to the Mac – Setting the Virtual Machine Manager up
Run virt-manager from your command line. You should see something like this:

Click on File -> Add Connection and then type this in. Make sure to replace relevant info, and don’t act like a dunce
qemu+ssh://user@hostname/system?socket=/var/run/libvirt/libvirt-sock
Make sure you don’t forget the socket option.

When you connect – you should see a screen, not much like this because you have yet to set a Virtual Machine up:
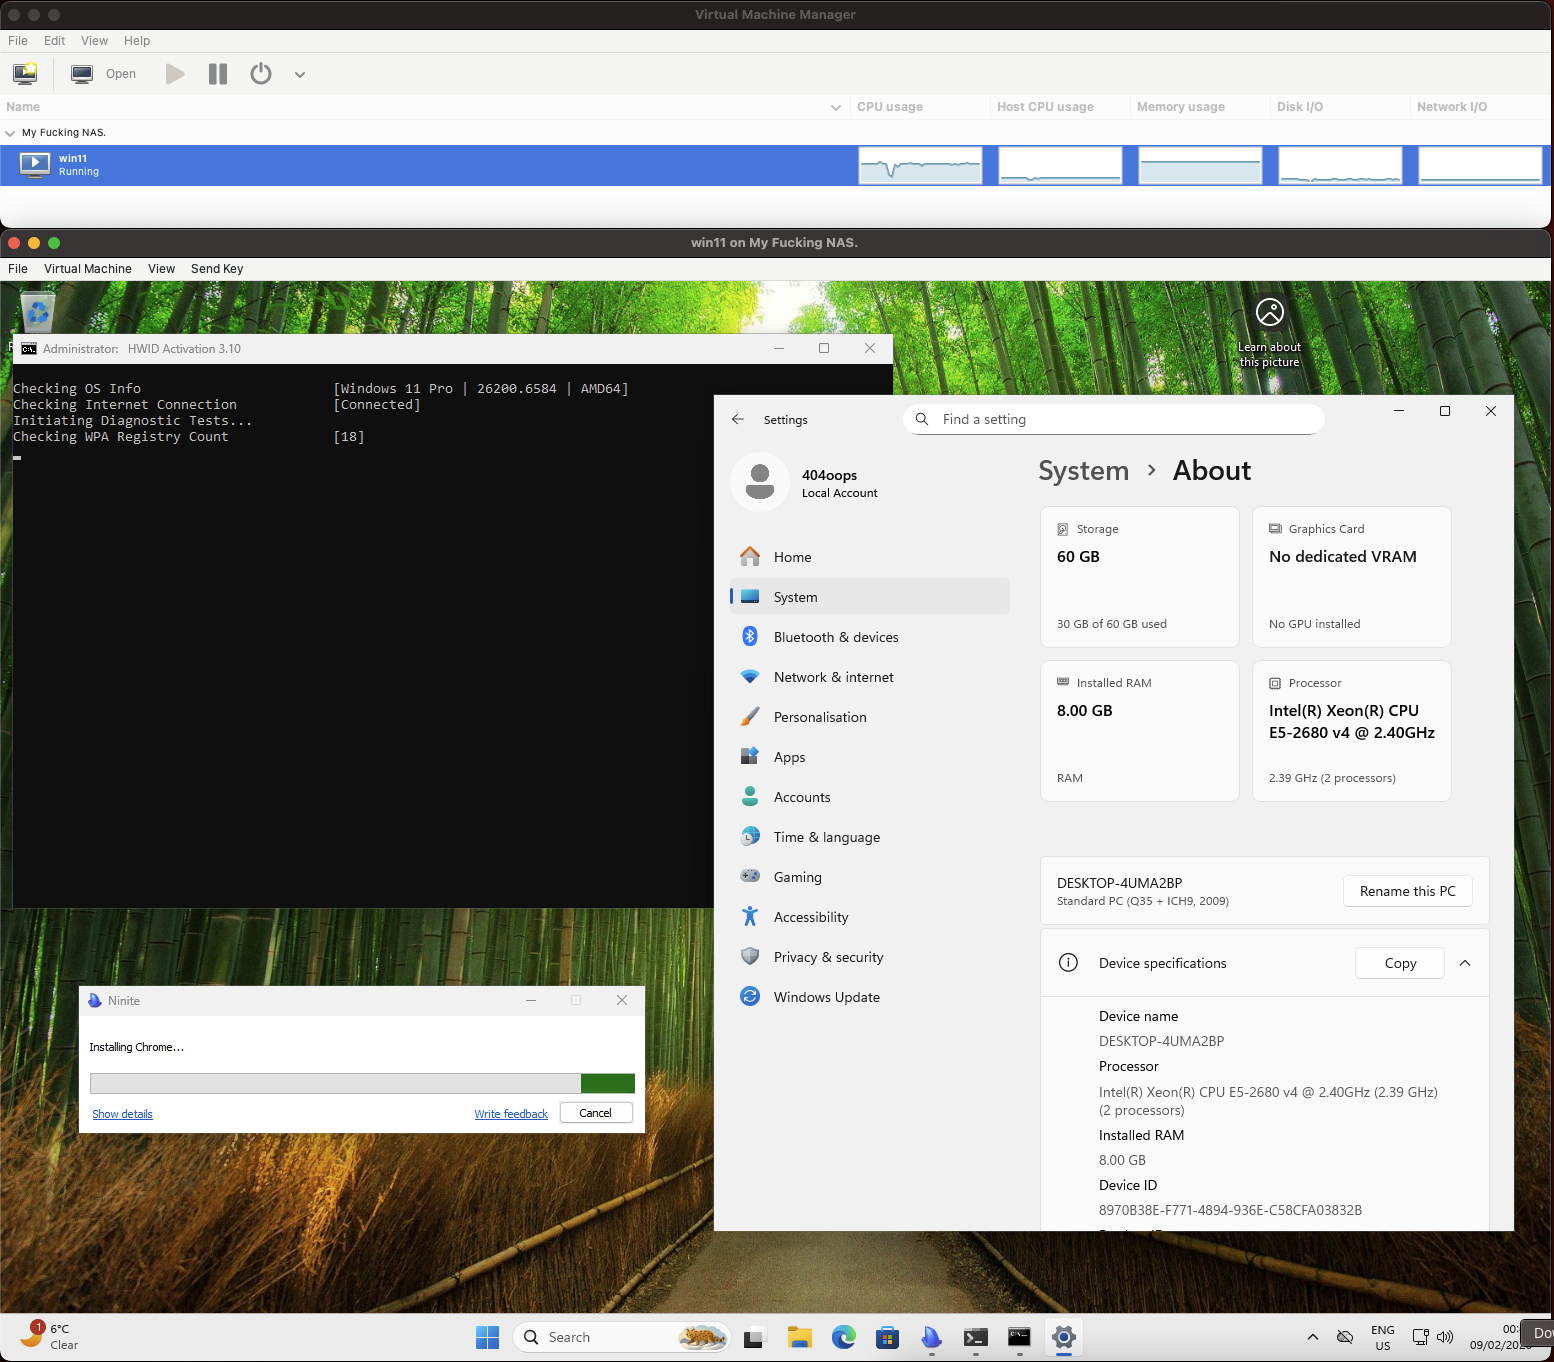
Congratulations!

You now have a Virtual Machine host. I don’t know what to say. Shit runs. You don’t need a complicated tutorial to set shit up. Everything else, like Bridge Interfaces, is left up to you.
You need to set everything else up, like Image directories, and you lose the luxury of hitting the button “Browse” but it is what it is.
I do not guarantee this will work without a VPN. I think it won’t. You have to have full access to the machine, so I advise you use a VPN.
USB Redirection “works”. It’s wonky, but I still can redirect things like my UART bridge.
